
User Guide
for Solo Macropad
Overview
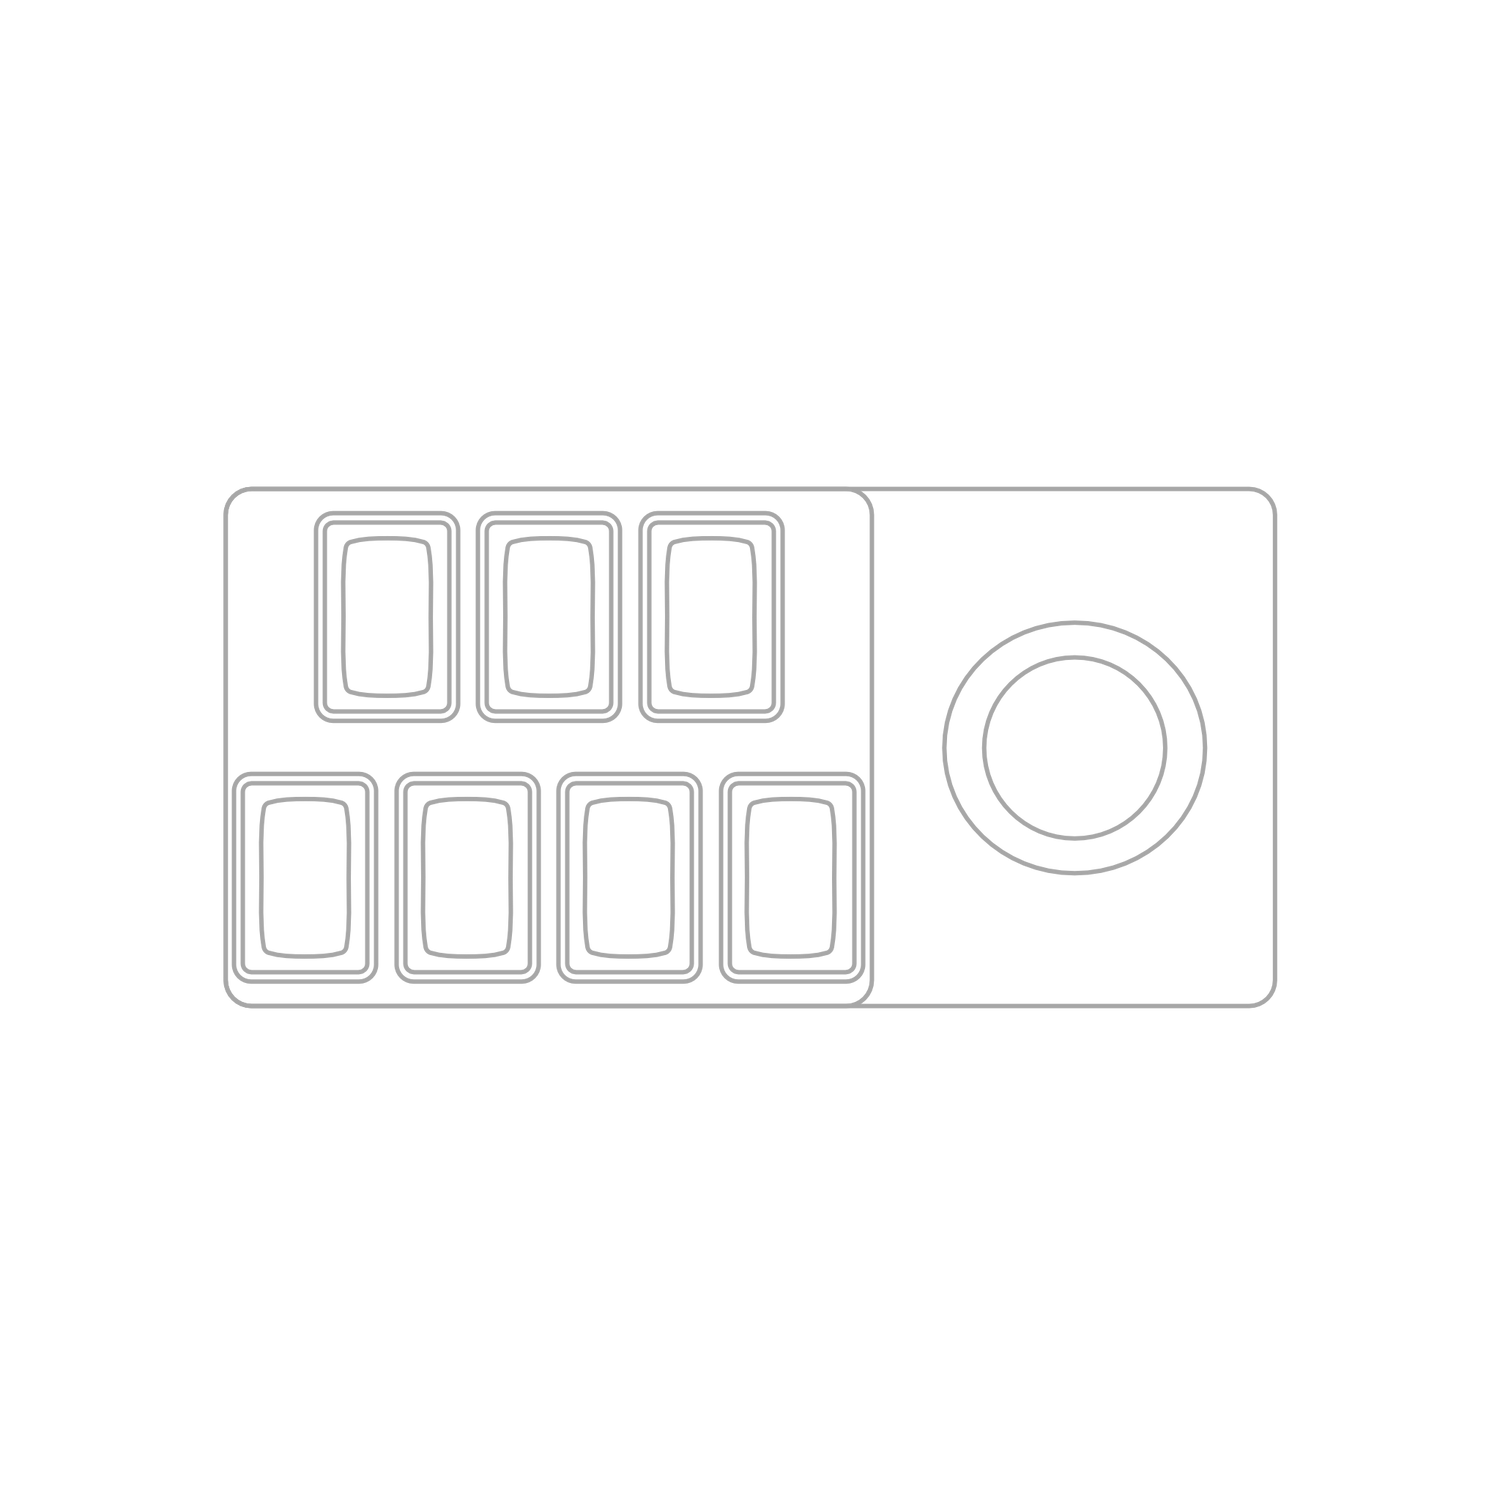
The Synth Labs Solo is a 7-key macropad with a rotary encoder, inspired by beatmania IIDX controllers and modern record players.
• CNC-Milled Aluminum 6063 and Brass construction
• Powered by QMK
• Remappable buttons and rotary encoder with VIA
• Hotswappable MX-style switches
• Hotswappable Bourns EC-11 rotary encoder
• Can be assembled in left or right-handed orientation
• Usable as beatmania IIDX mini-controller with special firmware
Specifications
What's in the Box?

Mini-Controller Usage
To use the Solo as a IIDX mini-controller, download and flash the appropriate firmware for the IIDX game you are playing, and set the game's keybindings to default.
When this is done, all the turntable and key button behavior should work as expected.
To use the E1-E4 buttons, hold the turntable button down, and press one of the four corresponding bottom-row buttons.
The left-most and right-most buttons on the top row remap to BT1 and BT2 when holding the turntable button down, to allow for adjusting Green Number on-the-fly in INFINITAS.
Please use the included allen key for disassembly
Disassembly Guide
Step 1. Removing the keys
1. Remove the keycaps using a keycap puller
2. Remove the switches using a switch puller
Step 2. Removing the knob
1. Using the included allen key, loosen the set screw located on the knob
2. Lift the knob straight up, and set it aside
3. Using a socket wrench, loosen the retaining nut at the base of the encoder
4. Remove the retaining nut and washer
Step 3. Opening the chassis
1. Make sure the Solo is unplugged
2. Flip the Solo upside-down
3. Using the included allen key, unscrew the 4 screws in the corners
4. Hold both the top and bottom sides of the Solo, then flip it right-side-up to allow the bottom chassis to fall out
Step 4. Removing the top and plate
1. While holding the top piece and plate of the Solo, unscrew the 5 screws in the key-side of the PCB,
2. Allow the top and plate to fall out, and set them aside
Step 5. Removing the electronics
1. Unscrew the 4 screws on the knob side of the PCB
2. While holding the bottom, flip the Solo right-side-up, allowing the PCB to fall out
3. Remove the rotary encoder from the PCB by lifting it directly up
Congratulations, you have fully disassembled your Solo!
The Solo comes pre-flashed with the Macropad firmware
Firmware Flashing Guide
Step 1. Download the correct firmware
1. Find the Firmware Downloads section located earlier in this guide
2. Download the firmware that best suits your usecase
- If you are unsure, download the "For use as a macropad" firmware
Step 2. Download QMK Toolbox
1. Go to the qmk_toolbox releases page
2. Find the latest stable version (the most recent one not labelled Beta)
3. Download the appropriate installer for your operating system
- Windows users should download "qmk_toolbox.exe"
- Mac users should download "QMK.Toolbox.app.zip"
Step 3. Put your Solo into bootloader mode
If your rotary encoder has a button:
1. Hold down the rotary encoder button
2. Plug your Solo into your computer, to enter bootloader mode
Otherwise:
1. Complete steps 1-3 of the Disassembly Guide
2. Plug your Solo into your computer
3. Press the small button on the PCB, to enter bootloader mode
Step 4. Flash your Solo
1. Open QMK Toolbox
2. Select "MCU (AVR only)" and choose ATmega32U4
3. Drag-and-drop the firmware file you downloaded in to the "Local file" field in QMK Toolbox
4. Press Clear EEPROM
5. Press Flash
Congratulations! You have finished flashing your Solo!
Still Need Help?
If you have any further questions, or need additional help, feel free to contact me